Today you’re going to learn how to inflate your inflatable boat, dinghy or raft and set up the aluminum floorboards inside. Make sure that if you’re working on a rough surface to place a tarp on the floor its then damage to your boat. First, gently unroll the inflatable boat. If you’re using a high-volume foot pump locate the air out port.
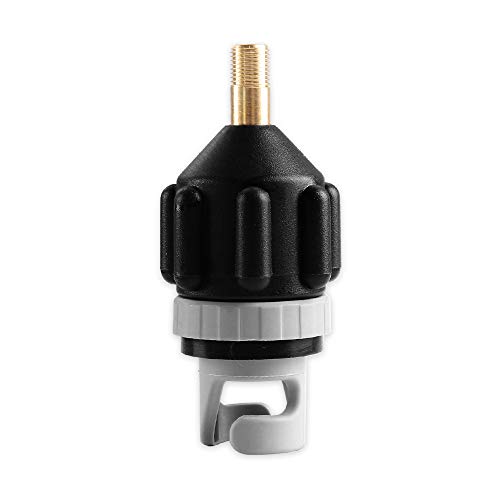
Then secure the air hose to the foot pump. Locate the air valves on the inner part of the boat tubes. This is where you will inflate the boat using a foot pump. air valve has two settings. open setting is when you gently push and twist the pin into the air valve. This setting is used when deflating the boat. For the closed setting gently push and twist the pins with standing out from the valve. This prevents air from leaving the tubes once inflated. Set the pin to the closed setting for all of the air valves. Now get the air hose connected to your foot pump and put it inside of the air valve then gently twist until it is locked.
Partially inflate your boat by repeatedly pressing down on the pump with your foot. At this point, you want to pump just enough air into your boat so that you can place the floorboards inside.
Start by placing the forward-most floorboard inside of the boat. Make sure that the keel’s air valve is visible and accessible through the floorboard. Then place the smallest floorboard towards the back of the boat. When placing the floorboards down try to make sure they are centered. This will make placing the side rails the next step easier for you.
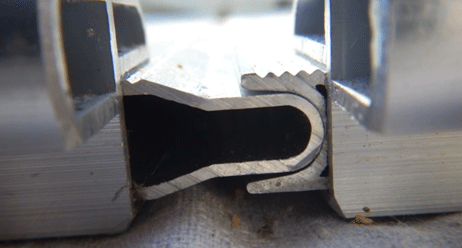
Make sure that the rear most floorboard is underneath the transoms floorboard lock. floorboards connect by placing them into one another or the edges allow like the images shown:

Connect the floorboards ensuring their center. When you place your last floorboard down keep one end of it on top of the middle floorboard. Connect the two floorboards by simultaneously lifting them up then evenly ease them down and push towards the floor. If you’re having trouble with this step deflate the tubes until you’re able to.

This is your side rail that lock your floors in place. You want the round part to be against the tube and the square part to connect to the floorboards. Locate where two aluminum floorboards meet and slide the side rail onto the floorboards until it’s seated properly. If any fabric gets caught underneath the rail or floorboard all the floor and rail down then pull the fabric out. Repeat this step on both sides of the floorboards. Before inflating the boat to maximum capacity put the seats onto the nylon straps. You are now ready to inflate your boat.
You can tell when there is enough air inside of the tubes when there are no wrinkles on the outside and top part of the tubes. When you’re finished inflating a tube be sure to screw the cap back on to the air valve.
last to be sure to inflate is your keel tube which takes very little air. By inflating the keel tube it creates a nice deep V keel. Put the ore into the or lock by twisting off the cap and sliding viewer onto the bar. Then twist a cap back on. Secure the or by pulling down in the or grip and pushing the or inside. Repeat this step on the other side as well.
Congratulations you have successfully set up your inflatable boat.
Thesandshore.com is a source where the post How to Inflate an Inflatable Boat appeared first.


