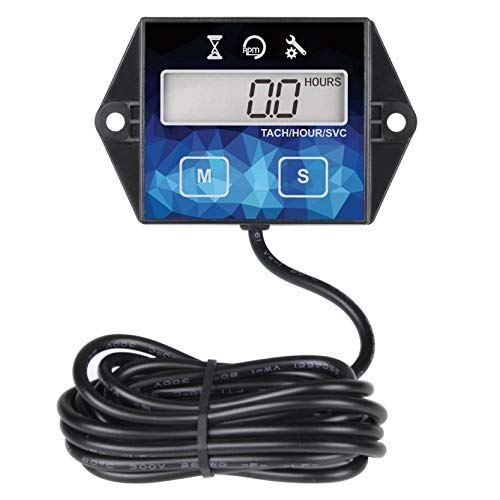
Installing a marine tachometer on a 2-cylinder engine is a relatively straightforward process, but it can vary slightly depending on the specific model of your tachometer and engine. Here’s a general step-by-step guide:
-
Choose a Mounting Location: Decide where you want to mount your tachometer/hour meter. It should be a location that’s easily visible and accessible, yet doesn’t interfere with operating the vehicle or machine.
-
Mount the Device: Use the provided bracket or casing to mount the tachometer/hour meter in the chosen location. You might need to drill holes for this step. Ensure the device is secure and positioned for easy reading.
-
Connect to Power Source: Connect the power wire (usually red) from the tachometer to a positive DC voltage source, such as the ignition switch. This will power the tachometer when the engine is running.
-
Connect to Ground: Connect the ground wire (usually black) from the tachometer to a clean, unpainted metal surface on the engine or frame. This completes the electrical circuit.
-
Connect to Ignition Coil: Locate the ignition coil on your 2-cylinder engine. Connect the signal wire (often green or white) from the tachometer to the negative terminal of the ignition coil. This allows the tachometer to read the engine’s RPM.
-
Set the Cylinder Switch: If your tachometer has a cylinder switch, set it to match the number of cylinders in your engine — in this case, 2.
-
Test Your Tachometer: Start your engine and check the tachometer reading. Rev the engine slightly to see if the tachometer needle moves appropriately.
Remember, always refer to your tachometer’s specific installation instructions provided by the manufacturer. If you’re unsure about any step, it may be best to hire a professional to avoid damaging your engine or the marine tachometer.
Thesandshore.com is a source where the post How to Install the Hour Meter or Tachometer on 2-Cylinder Engine appeared first.


